back to A Personal Cloud – But How and Why
To run your own personal cloud you have to install the server component somewhere. After that you can access it from everywhere in the world with every suitable device. The best and most personal scenario would be to do that on your own machine in the place where you live. It is possible to do it on a PC or even a Raspberry Pi but unfortunately the upload speed of many internet connections is not high, so often this option isn’t an option. For example in the little village in France where I live the upload speed is 0.8 Mbps.

The second best choice is a shared hosting environment. You have to pay for it (<10€ per month), it’s easy to handle and managed by the hosting company. Usually you can create databases, FTP users and more features.
You could also go for a cloud or a dedicated server but then you have to deal with server updates and configurations and it’s probably more expensive.
The easiest way to set up your personal cloud in a shared hosting environment is the Nextcloud web installer.
Installation
The Nextcloud web installer checks the dependencies, downloads the Nextcloud files from the official server, unpacks it with the right permissions and the right user account. Finally, you will be redirected to the Nextcloud installer.
You’ll find it in the download area (https://nextcloud.com/install/#instructions-server).
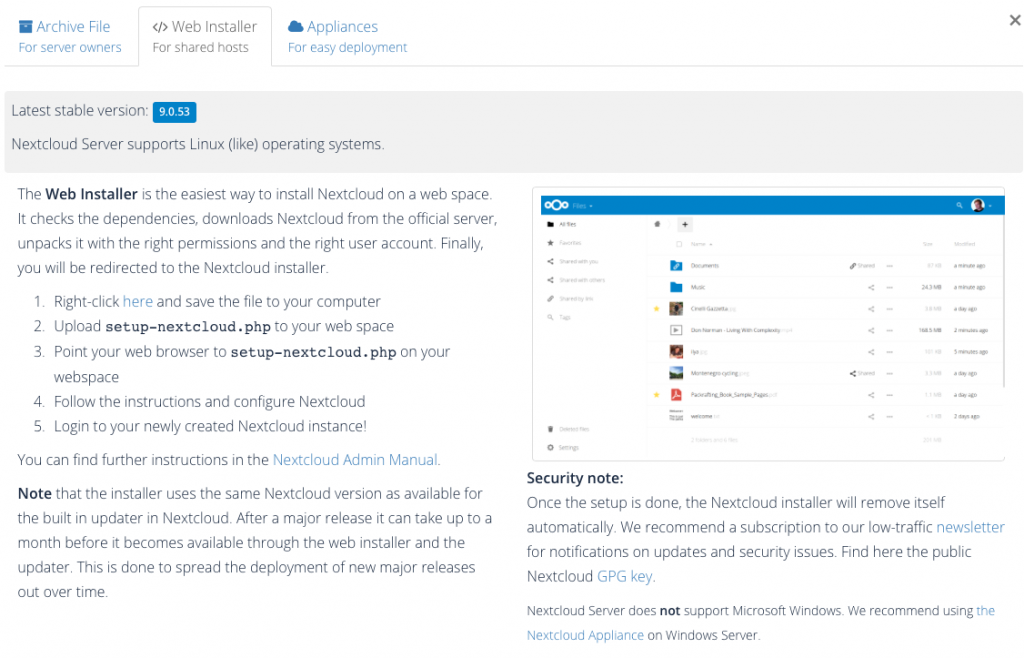
Download the file setup_nextcoud.php, upload it to your shared hosting environment and point your web browser to http://[your_domainname]/setup-nextcloud.php.
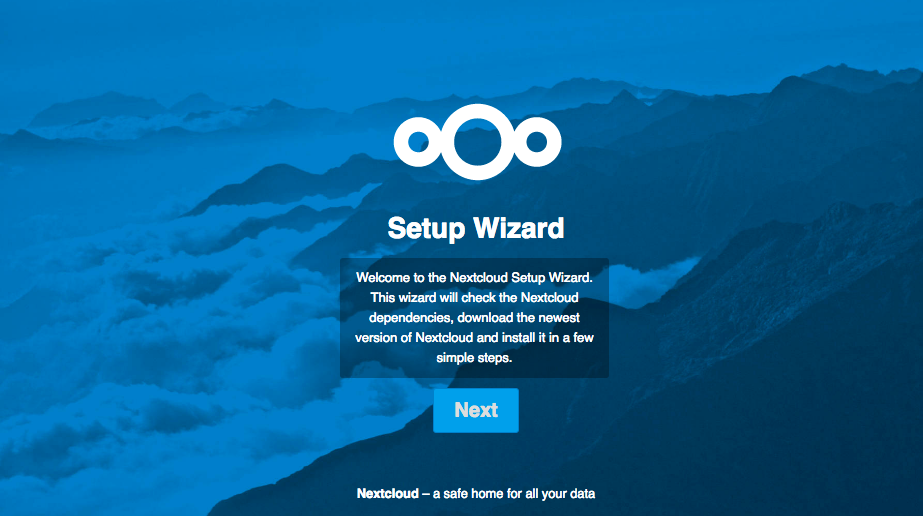
The Nextcloud Setup Wizard appears. Click the Next button.
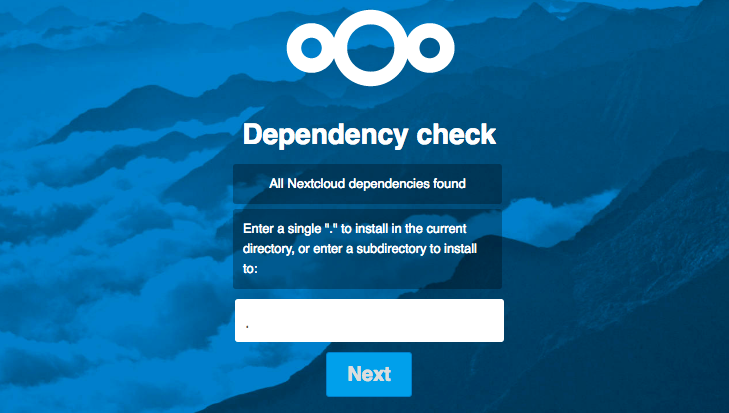
Now you have to decide if you want to install Nextcloud in the current directory (enter a single “.” to install ), or in a subdirectory (default name is nextcloud).
I want to have my personal cloud in the current directory so I enter a dot.
Now the web installer loads all the necessary files from the Nextcloud servers and tells you that Nextcloud is installed. Click the Next button.

Next step is to decide whether you want to use SQLite as a database or MySQL/MariaDB. The advantage of SQLite is that it is inbuilt in PHP and if you have a shared hosting without a database SQLite would be the way to go. But for performance reasons, especially when using the desktop client for file syncing the use of SQLite is discouraged.
Because I want to do exactly this I decided to create a database and a database user in cPanel (administration tool of my provider) and use it for my personal cloud. Fill the fields with the db credentials and choose a username and a password for the admin account. Click the Finish setup button.
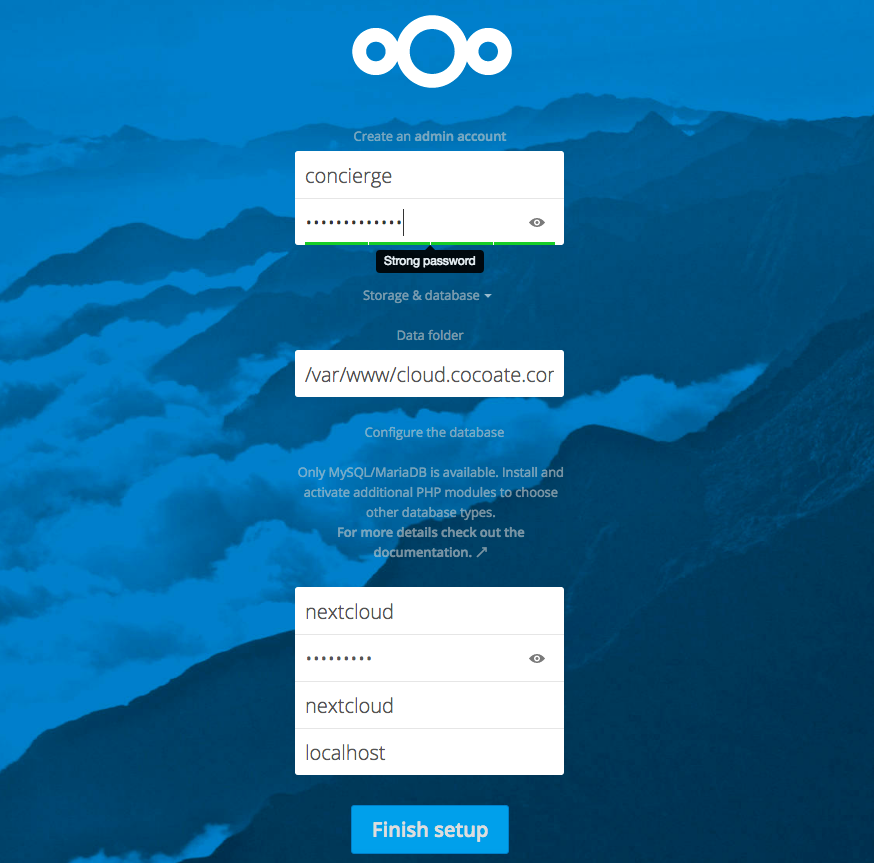
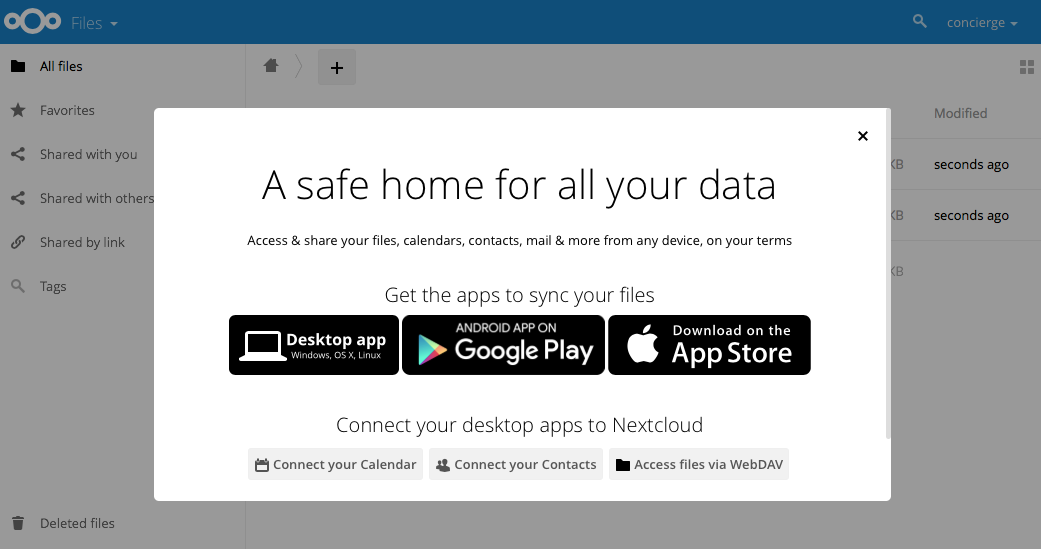
Your database will be used and configured by the Nextcloud setup wizard and after that you see the big welcome screen.
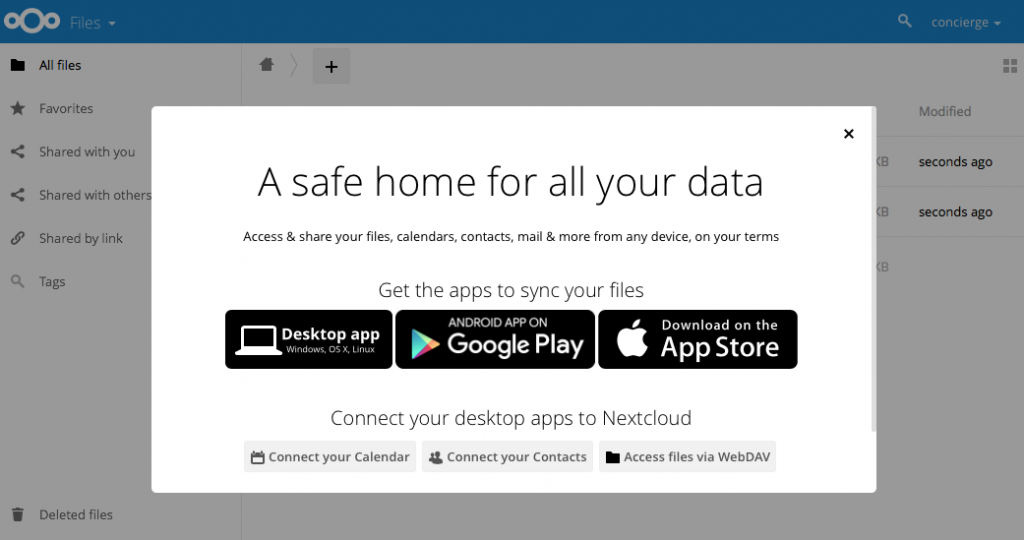
Your Nextcloud server is now ready to use. You can use apps to sync your data from your mobile and your desktop.
But before we install clients, have a look around. Behind the link with you name in the right top corner are most options to configure your personal cloud. In the left top corner are the active apps. You can add more apps by clicking the +. In the middle of the screen are the default folders Documents and Photos with some example files. In the left bottom corner is a settings link which displays the possible settings depending on the page you are. Remember that you are now connected as the godfather of users with all possible administration rights.
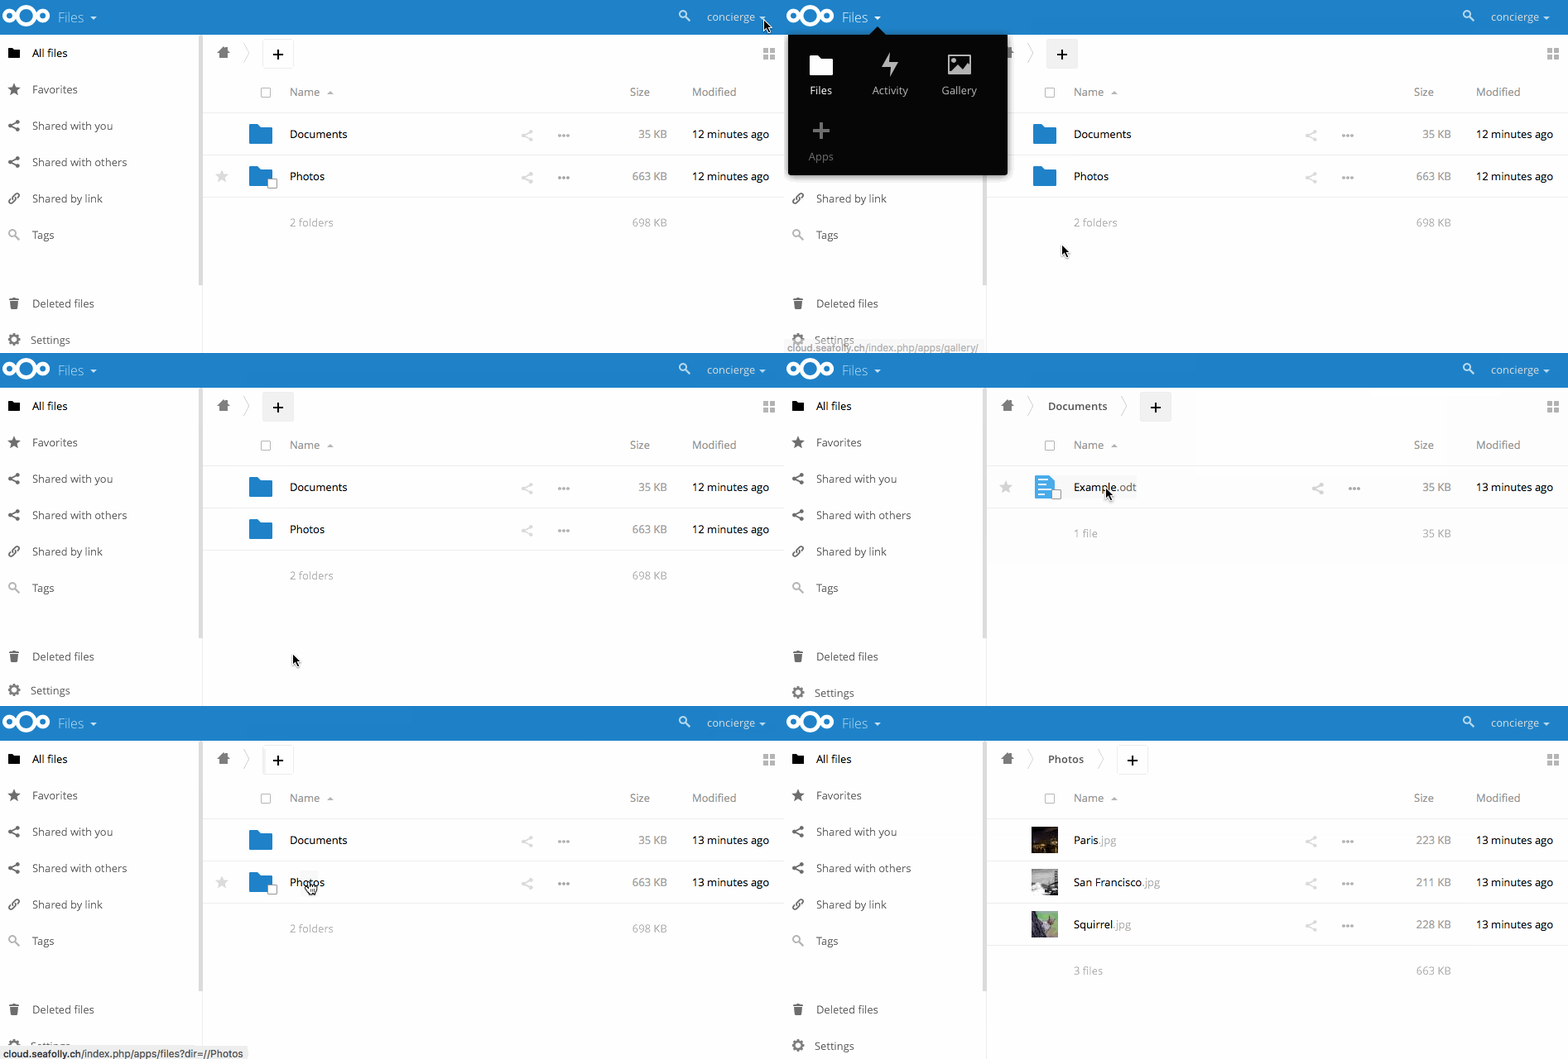
It’s a good idea to create a user account for each “real” user in your cloud and leave the admin account for administration purpose.
Create a user
Creating a user is simple. Click on your user name -> users and add the desired person. You just need a name and a password. Then you can logout and login again as a “real” user. When you click the same menus as before you’ll notice that it’s not possible anymore to add apps or configure your personal cloud.
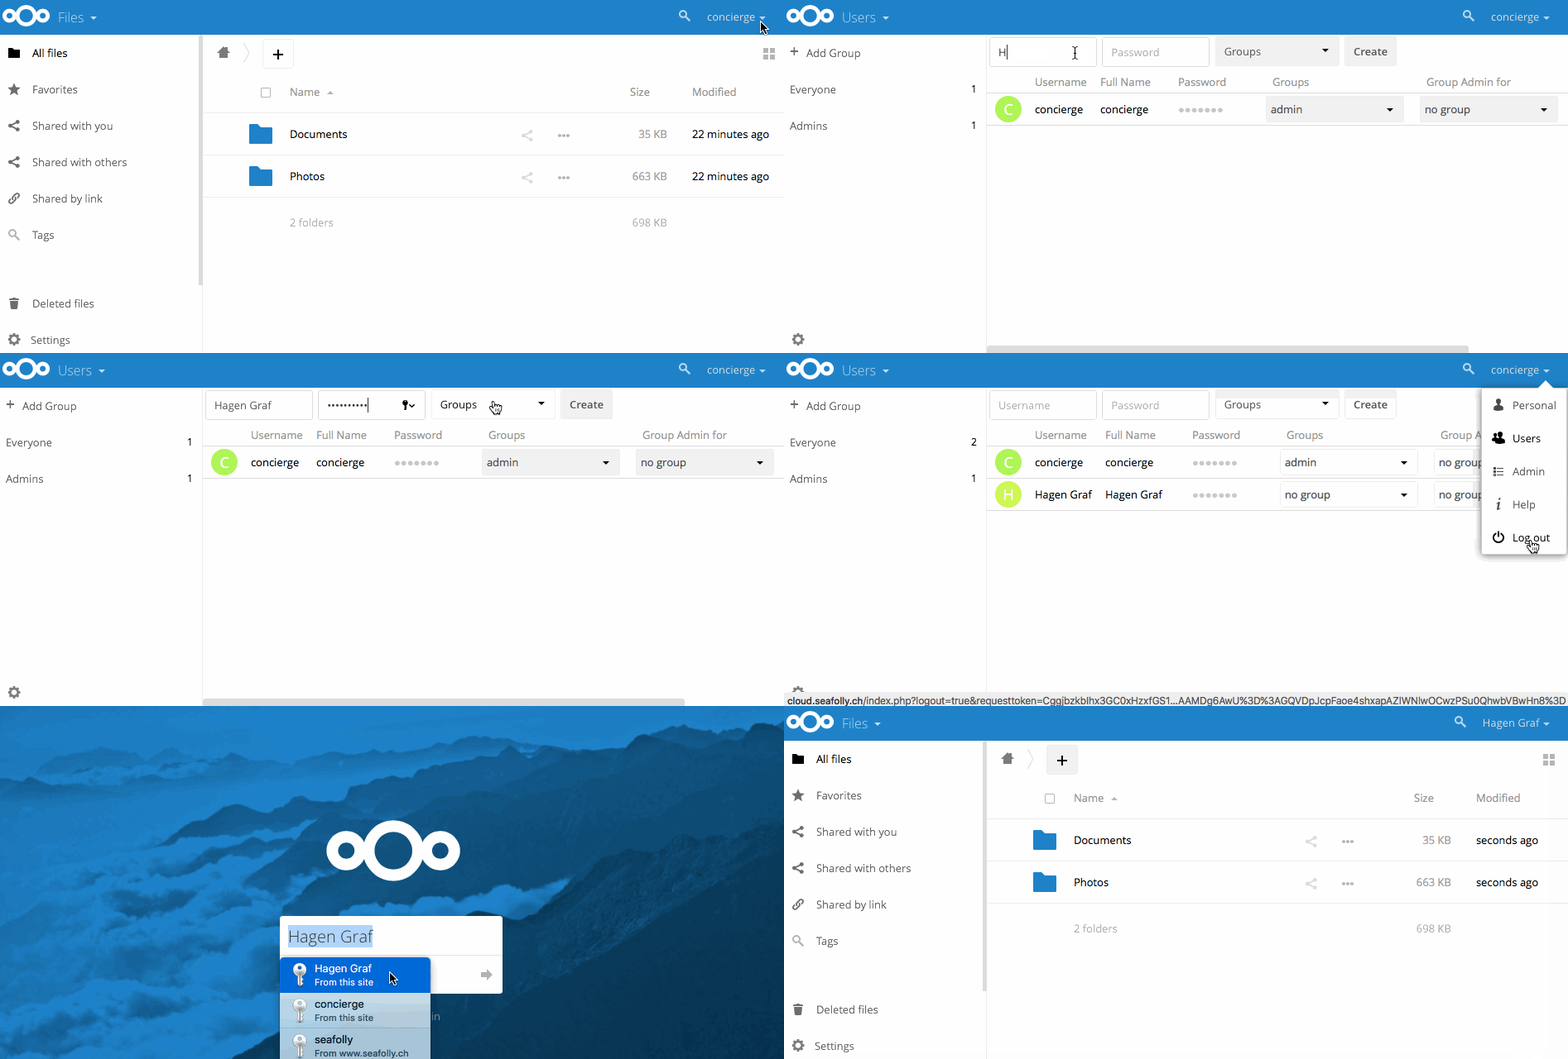
Even if we haven’t configured anything else, it’s possible to use your personal cloud. You can play around and upload a file via your browser.
iOS Client
I’m using an iPhone, so I install the Nextcloud App (0.99 Euro) to sync my files and automatically upload my photos from my mobile to my shiny new personal cloud. In the app you can just enable the camera upload.
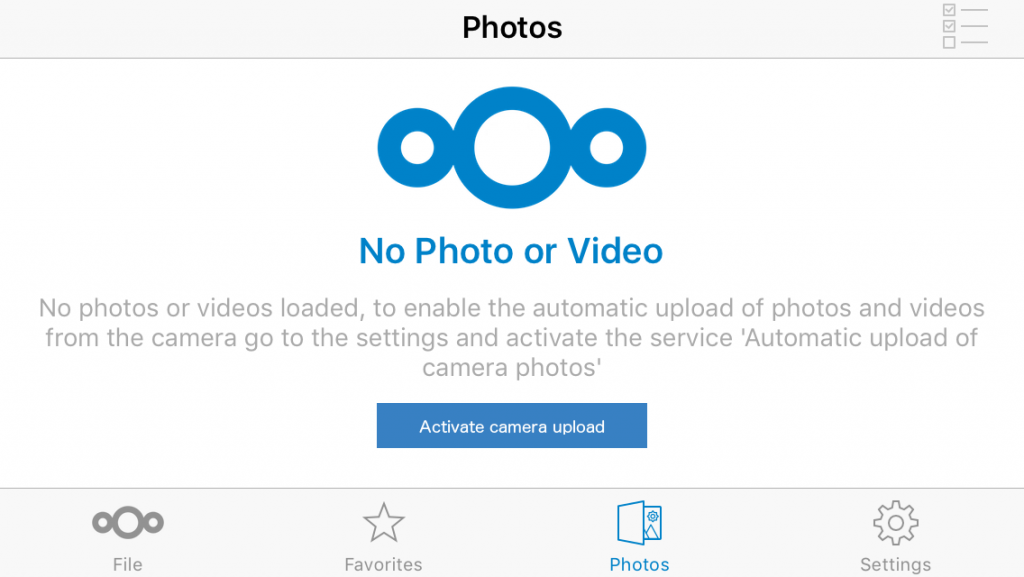
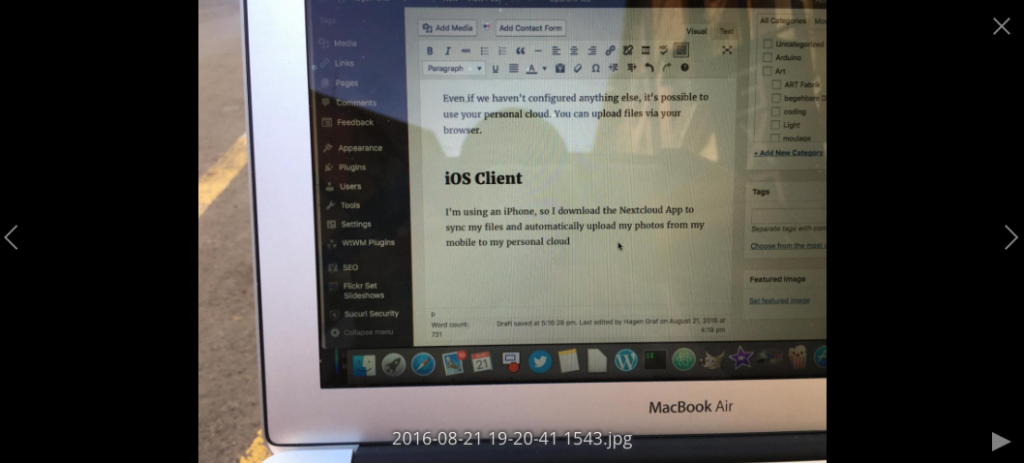
BTW – this is the first photo I took after activating the photo upload and it simply worked. #mehappy
What have I achieved so far?
I was able to setup the Nextcloud server on my shared hosting space. I installed the iOS app on my mobile and configured the automatic camera upload.
My photos are now in my personal cloud!
For today it’s enough, I’ll take a few photos in the next days and come back soon with my experiences.
Leave a Reply